Managing local admin passwords on devices
Microsoft Local Administrator Password Solution (LAPS) sets a unique complex password for the local administrator account in all domain-joined devices. This local administrator account password set by Microsoft LAPS will automatically change according to password policy. The new passwords will be saved in Active Directory and authorized engineers can retrieve passwords from the Active Directory server when required.
Requirements:
- Devices that are joined to an Active Directory domain and enrolled in Intune.
Why you can't run LAPS on Azure AD joined devices
Due to the requirements for writing to a Domain Controller you can't totally run LAPS without Active Directory infrastructure(On premises DC's or Azure Active Directory Domain Services). We can use Intune do some of the heavy lifting. We can leverage Intune for deploying the LAPS client and creating a standard Administrator. (Note for LAPS to function the client PC's will need at least periodic line-of-site network access to the domain controller. Either through them bringing their laptops onsite, or through a VPN solution.)
Workflow overview
The basic workflow consists of:
- Installing the LAPS software components.
- Extend the Active Directory schema to hold the LAPS attributes.
- Allow PC's to write into the new LAPS attributes.
- Install the LAPS client on PC's using Intune.
- Creating a standard custom administrator account.
Installing the LAPS components
Laps can be installed on any machine but typically you are going to want it on a server. Either the Domain Controller itself, or a dedicated utility server. There are many guides on this so I will run through this quickly.
- Download LAPS from https://www.microsoft.com/en-us/download/details.aspx?id=46899 This link has several .msi files. You need to download the file .msi which matches your architecture. Typically LAPS.x64.msi
- Double click on LAPS.x64.msi file.
- It will open the new wizard. In the initial screen click Next to continue.
- Accept the licenses agreement and click on Next.
- On the features window, deselect default “AdmPwd GPO Extension” and select “Management Tools”.
- On the next page, click on Install to begin the installation process.
- Once installation is completed, click on Finish.
Extending the AD domain
Once LAPS has been installed, we need to extend Active Directory schema to store LAPS attributes. LAPS adds 2 new computer attributes.
- ms-Mcs-AdmPwd – Save the administrator password in clear text
- ms-Mcs-AdmPwdExpirationTime – Save the timestamp of password expiration.
To extend AD schema
- Launch PowerShell as AD Schema Administrator or higher
- Import PowerShell module using:
Import-module AdmPwd.PS - To update the schema Run:
Update-AdmPwdADSchema
Delegate computer object permissions to PC's
The computer object itself needs permission to write values to ms-Mcs-AdmPwd and ms-Mcs-AdmPwdExpirationTime attributes. We need to add permissions to SELF built-in account.
- Create an OU for the computers
- Open PowerShell as a Domain Administrator
- Run command
Set-AdmPwdComputerSelfPermission -OrgUnit computers
Installing client software with intune
We can leverage Intune to deploy the Client Side Executable. This can be done like any regular MSI lob app.
- Navigate to the windows apps blade in intune
- Click the add button.
- Select line off business app
- Point to the laps MSI

- Click OK
- On the App information page switch the install context to device.
- Enter a publisher name. (All other fields are optional)
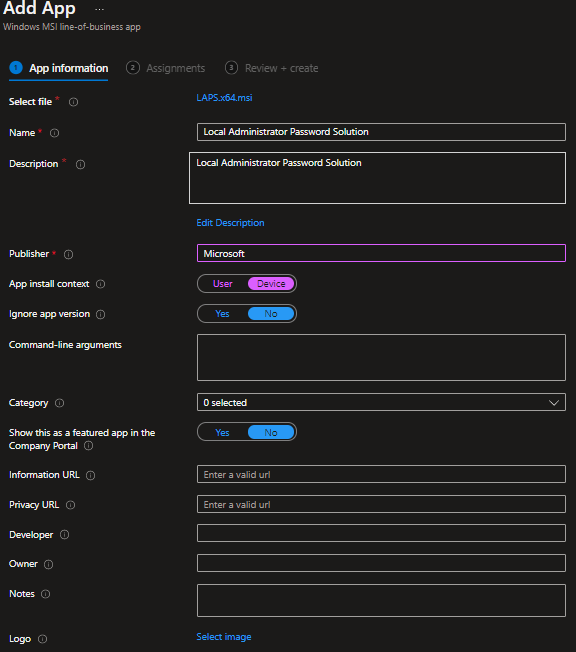
- Click next to the Assignments page.
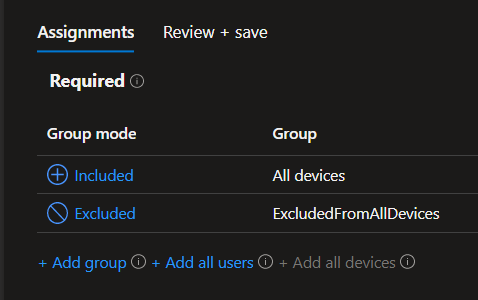
- Assign the policy to the desired groups. (I tend to use the all devices group then exclude special purpose devices)
- Hit the save button.
Setting up an admin account with Intune
One limitation of LAPS is that it can't create an admin account. It can only modify existing accounts. You can target the built in Administrator account, but since that is a known account name, it is generally better to create a unique admin account. The account can be created with a custom device configuration policy in Intune.
- Navigate to the Windows device configuration page
- Click Create Profile
- Select Windows 10 and Later > Templates > Custom
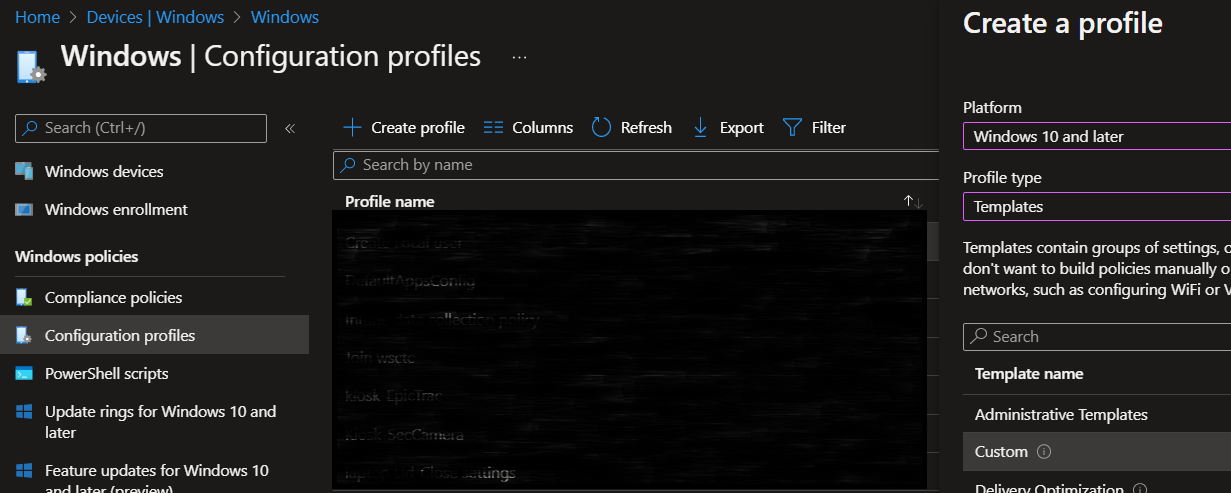
- Click next
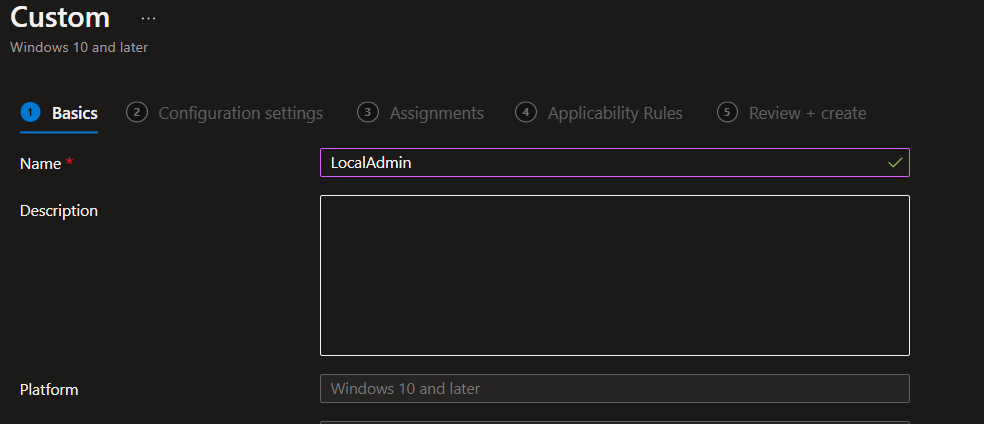
- Give the policy a name
- Click next
- On the configuration settings page. Click the add button
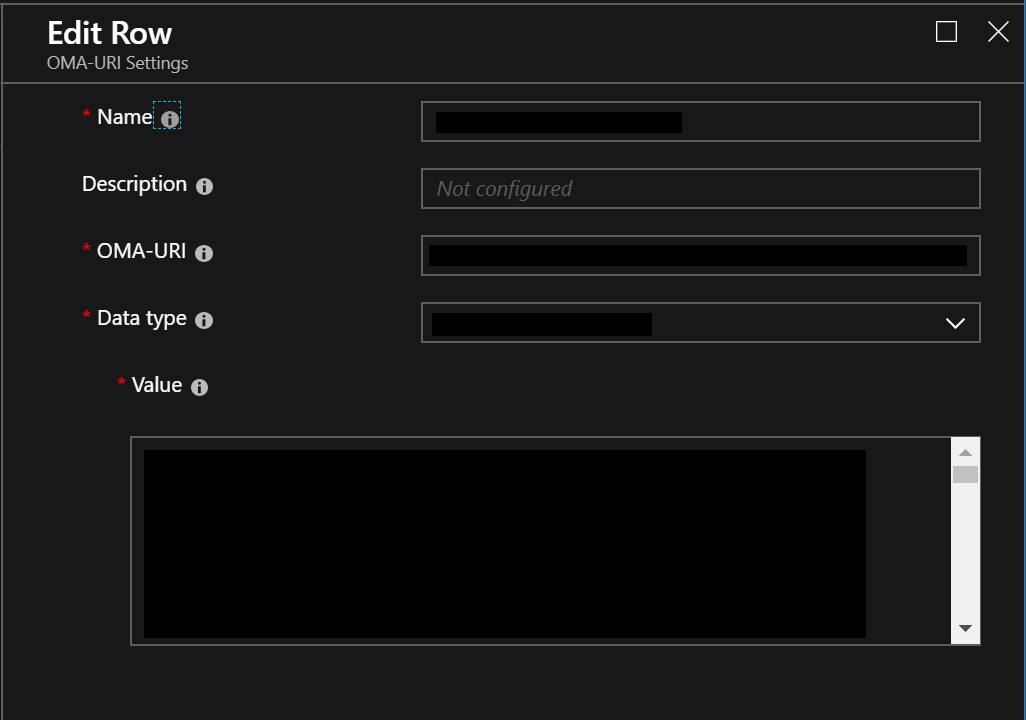
- There are 2 entries we need to create: This first entry creates the user account and sets a password. (Laps will change this later) (Note that the desired username is inserted after /Users/ .)
Name = create user
OMA-URI= ./Device/Vendor/MSFT/Accounts/Users/CustomADMIN/Password
Data Type=string
Value= YourPassword
The second entry adds the user to the Administrators group. Note that you will insert the username created above after /Users/
Name= AddUserToAdminGroup
OMA-URI= ./Device/Vendor/MSFT/Accounts/Users/CustomADMIN/LocalUserGroup
Data Type= Integer
Value= 2- Assign the policy to the devices. (Same process as when we assigned the LAPS software)
Create a GPO for LAPS settings
The last step is to create the GPO settings for LAPS. We will need to reference the admin account we created in Intune.
- Open the Group Policy Management Console.
- Create a new policy. (Note it needs to be at our above the OU where your target PC's are located.)
- Laps settings are configured in computer configuration > Policies > Administrative Templates > LAPS

Note If you aren't seeing the LAPS section you might need to export the templates from the system where you ran the MSI. To do this copy AdmPwd.admx from %windir%\PolicyDefinitions\ to your AD central store located at \\domain\SYSVOL\domain\Policies\PolicyDefinitions
There are 2 settings we need to configure
-
Enable local admin password management- set to enabled
-
Name of administrator account to manage - set to Enabled and the CustomAdmin account specified.

-
Once you have configured the settings your devices will begin writing the local passwords to the DC. You may need to reboot the machines. Most of our machines (about 100+) reported in within 48 hours.
-
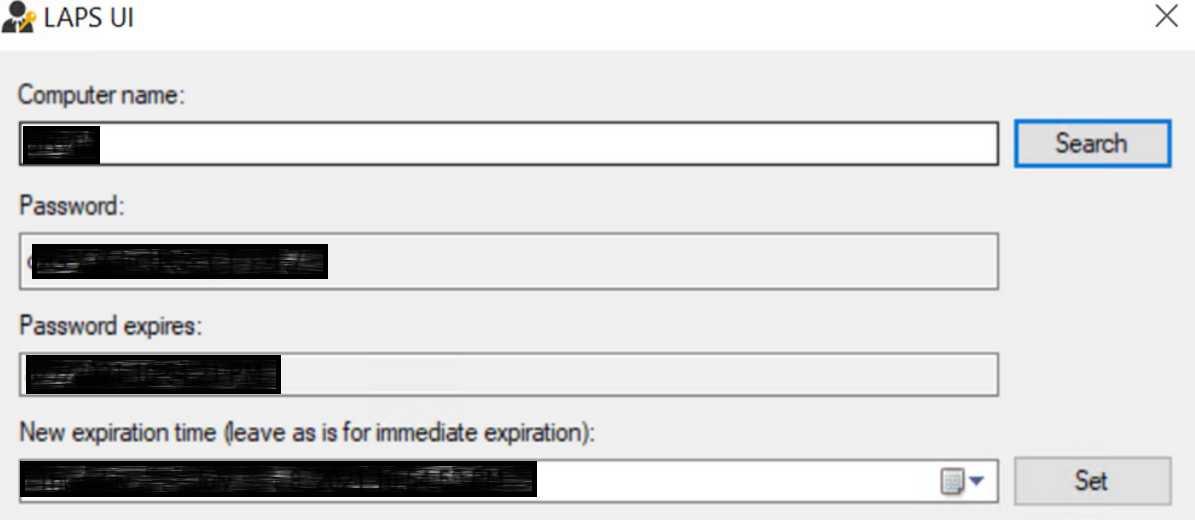
You can retrieve the passwords by searching for LAPS UI on the machine you ran the MSI on.
